.

Showing posts with label olive oil. Show all posts

CARROT BANANA BREAD

CARROT BANANA BREAD

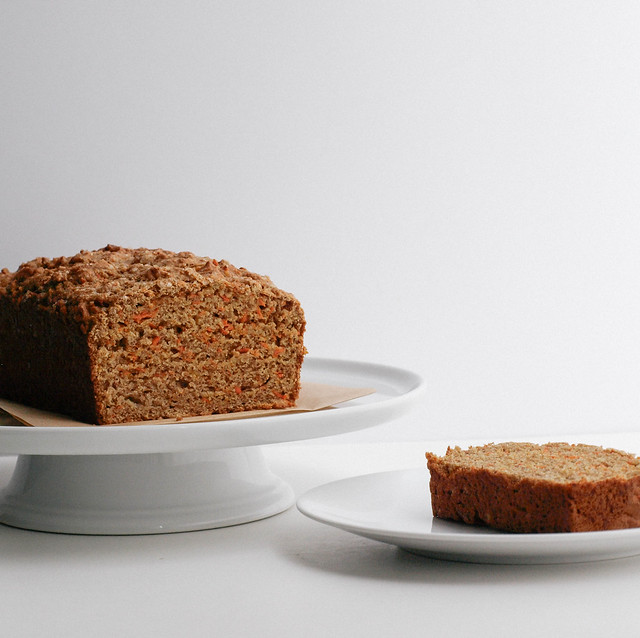
Lots of baking going on around here lately. I've been wanting to make a carrot banana bread and have finally got around to doing it. It's a nice textured bread, moist but not too moist and not too dense. The batter can handle the addition of walnuts and other dried fruits but for the sake of my daughter I've left those out. The recipe is adapted from my Banana Tea Bread which has been a wonderful recipe to work with! I have plenty of notes in this recipe so you can vary it up and change it around when the mood strikes. I don't usually add anything to breads like these when eating but this would be nice with a smidge of Cashew Sweet Cream. I hope you find you love this carrot banana bread as much as I do. It's a keeper and a great way to add in extra vegetables!

P.S. The cooking holiday season is just around the corner! I have a nice collection on pinterest of 250+ vegan recipes for you to consider adding to your holiday table. Am I missing any great recipes you'd like to see? Let me know and I'll add it. You can find the resource here: VEGAN THANKSGIVING AND CHRISTMAS RECIPES 
CARROT BANANA BREADCARROT BANANA BREAD

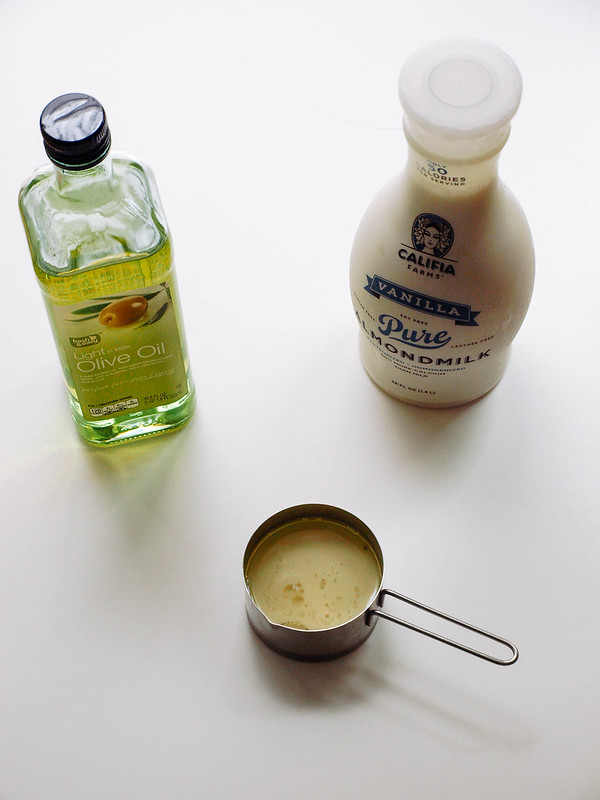
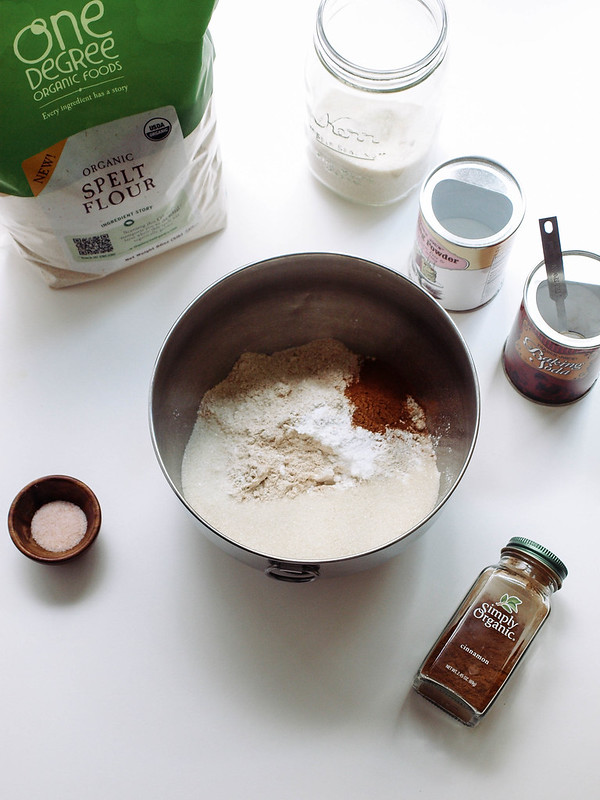
Mix your dry and measure your wet ingredients (I measured the oil and milk in one cup)...
CARROT BANANA BREADCARROT BANANA BREADCARROT BANANA BREAD

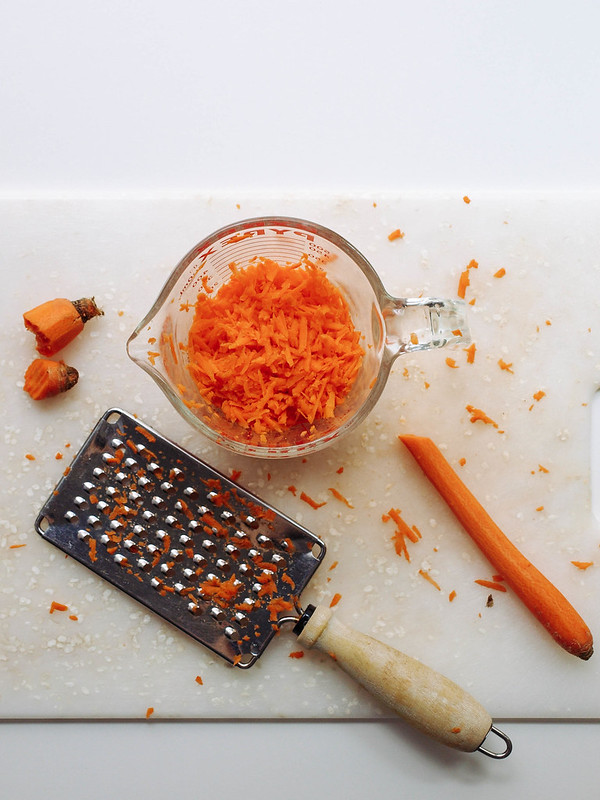
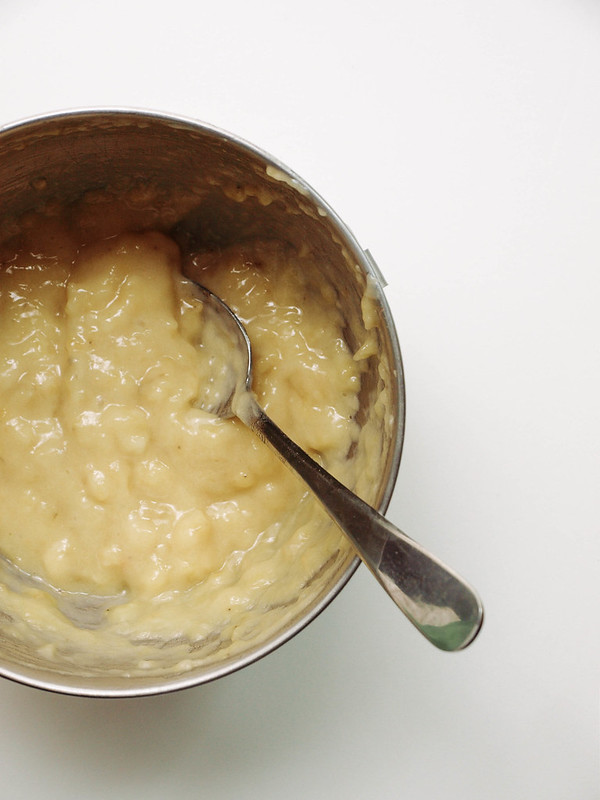
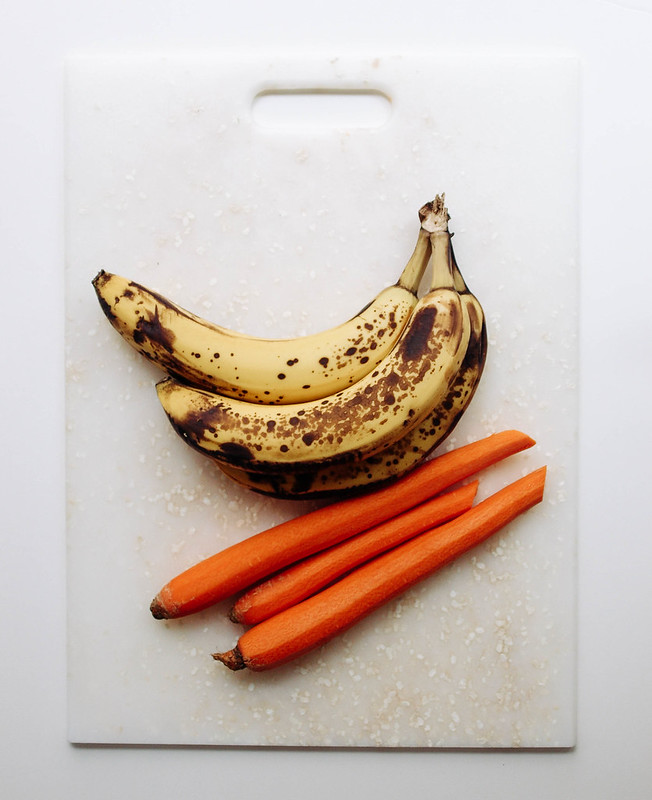
Grate your carrots, mash your bananas...
CARROT BANANA BREADCARROT BANANA BREADCARROT BANANA BREAD

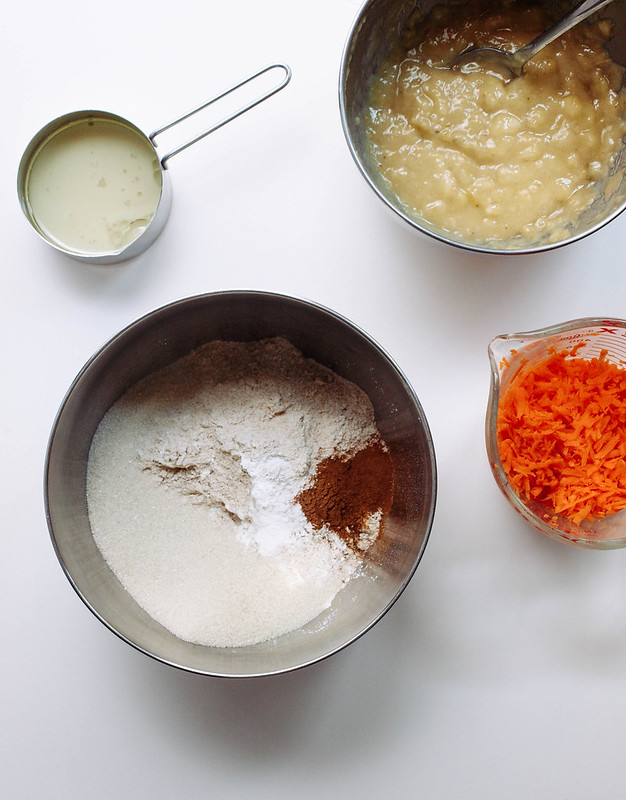
To the dry ingredients, add oil, milk and bananas, mix well but don't over mix. Lastly, fold in carrots.
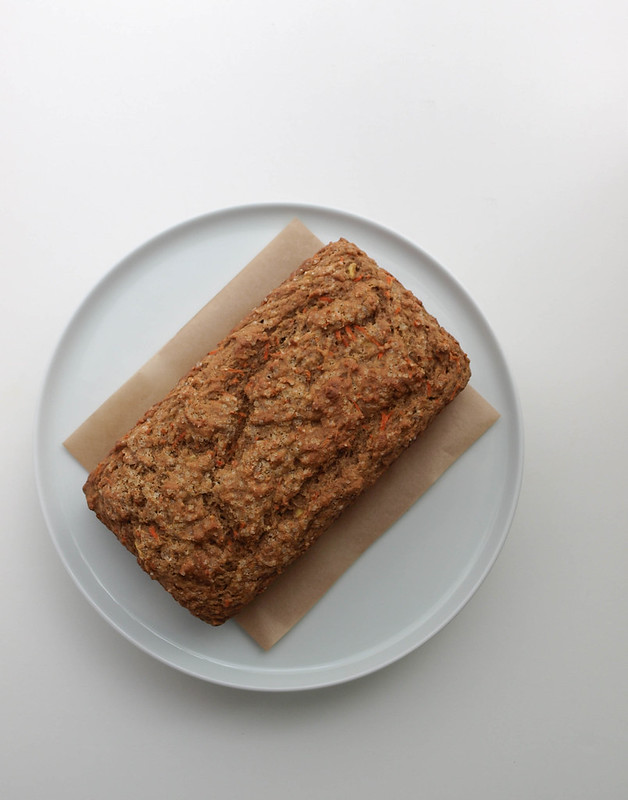
CARROT BANANA BREAD...just slightly cooled

My bread just slightly cooled and moved to it's storage place. Once it's cooled and covered, it will look a bit moister and darken in color. I did another loaf here where you can see the difference, this is 12 hours after being covered. I would've taken more pics of the loaf shown here but it was eaten too quickly!
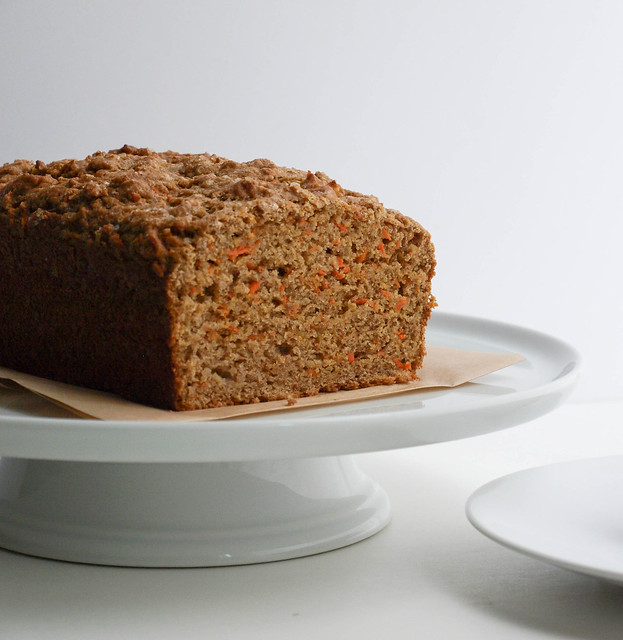
CARROT BANANA BREAD

CARROT BANANA BREAD

Ingredients
  • 2 cups spelt flour
  • 1/3 cup organic pure cane or coconut sugar
  • 2 teaspoons cinnamon
  • 2 teaspoons baking powder
  • 1/2 teaspoon baking soda
  • pinch of salt
  • 1/2 cup vanilla or unsweetened almond milk
  • 1/4 cup light flavored olive oil or warmed coconut oil (see notes)
  • 3 medium bananas, mashed (about 1 1/2 cup)
  • 3 carrots, grated (about 1 1/4 cup)
  • 3/4 cup chopped walnuts, optional

Optional Toppings
  • sprinkle of raw sugar (pictured, my daughters favorite topping)
  • 1/4 cup chopped walnuts 

Preheat oven to 350 degrees F.

In a large mixing bowl, add flour, sugar, cinnamon, baking powder & soda and salt, mix well with large slotted spoon or fork. Add milk, oil and mashed bananas, mix well, but don't over mix, making sure there are no clumps of flour (especially on the bottom of the bowl). Fold in carrots. In a lightly greased 9 x 5 loaf pan, place mixture and bake for 50 - 55 minutes on the middle rack, rotate pan half way through.

Let cool for 10 minutes, remove from pan and let cool completely. Store covered. Serve warmed or at room temperature. Slices would pair nicely with this Cashew Sweet Cream.

Serves 8.

Notes: 

The riper the bananas, the less sugar you'll need. If your bananas are not very ripe, you may like to add a tablespoon or so more.

If you don't have baking soda on hand, use 1 tablespoon (3 teaspoons) baking powder instead of 2 teaspoons.

If using coconut oil, be sure your milk is at room temperature or warmer. If adding straight from the refrigerator, the coldness will harden the coconut oil.

Replace the oil with applesauce for oil-free bread. Bread may be a little denser. 

Make gluten-free by using a GF flour blend.

Feel free to leave your carrots unpeeled. I felt mine needed it this time but usually skip this step whenever I can.

Fold in 1/3 - 1/2 cup dried fruit of choice. Raisins, currants, cranberries or chopped apricots or dates would work nicely. 

Add in 1/2 teaspoon nutmeg for another layer of flavor and variation. 
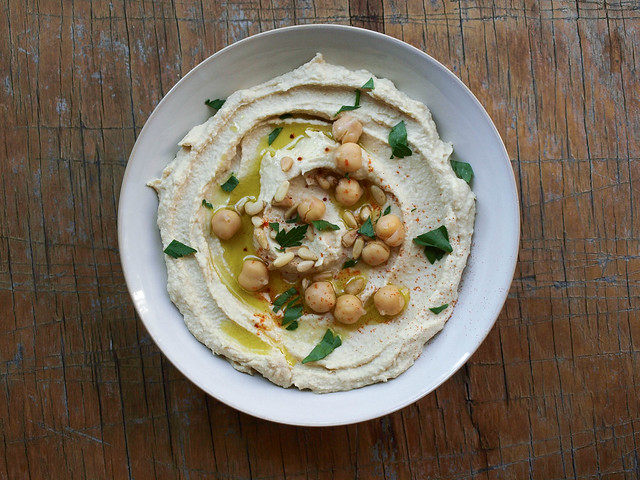

FAVORITE HUMMUS

Favorite Hummus

I love hummus and eat it often. I've bought it for years but have now gotten into the habit of making it myself since it's so quick and easy. A basic chickpea hummus recipe is handy to have on hand and is so versatile. It can be used as a dip for vegetables, served with crackers, pita chips or bread; also use it as a spread for sandwiches, wraps and as a binder in places you might use mayo type products.

I like my hummus in different consistencies depending on what I'm using it for. For spreads I like it a little thinner and juicier. If you find you are the same, add a little water to whatever portion you'll  be using. For dips I prefer it on the thicker side and keep the recipe as is. You may also like my Simple White Bean Hummus which I use to keep it varied.

Favorite Hummus

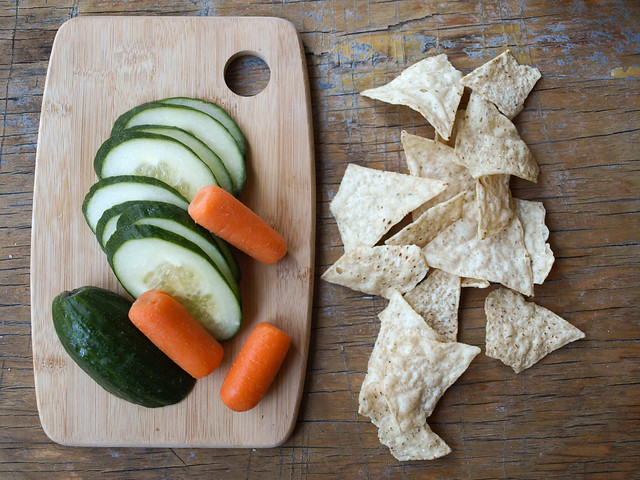
Pair it with various vegetables of choice like cucumbers, carrots, colored bell peppers and tomatoes just to name a few. I just recently started using organic white corn tortilla chips in place of pita chips and it is fantastic, seriously...who knew! And the chips are gluten free making it an even better choice with all the flavor and crunch of a pita chip. 
.
Favorite Hummus

FAVORITE HUMMUS

Ingredients
  • 1 can chickpeas (garbanzo beans)(15 0z), drained and rinsed or 1 1/2 cups cooked
  • 4 tablespoons tahini
  • 1/4 cup water (+ 2 tablespoons as needed)
  • 1 small garlic clove or 1 teaspoon garlic powder
  • juice of 1 or 2 lemons, to taste
  • 1/2 to 1 teaspoon cumin
  • 1 tablespoon roasted pine nuts, optional
  • 1/2 teaspoon himalayan salt, or to taste

Place all ingredients in food processor and blend until desired consistency. Taste for flavor adding anything here and there that you like....garlic, lemon, salt, cumin. Depending on the size of your lemons or how many you used, you may like to add the extra 2 tablespoons of water for slightly thinner consistency. I used all the water for the recipe pictured here.

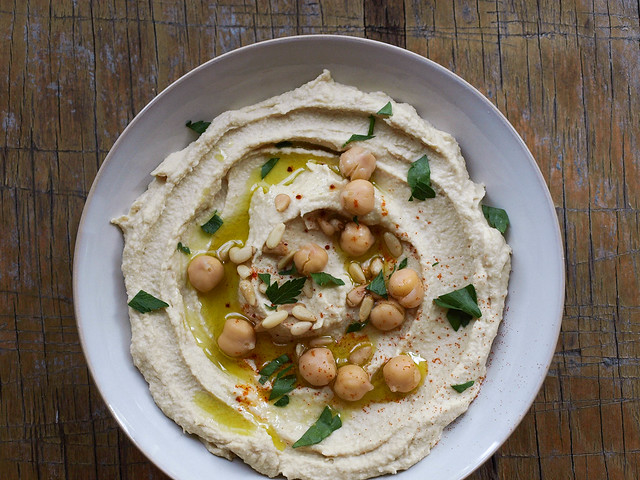
Serve with toppings of choice or plain. I have garnished here with chickpeas, pine nuts, chopped parsley and a dash of smoked paprika.

Store in airtight container in refrigerator for up to a week or so.

Notes: 

You can use 2 tablespoon tahini + 2 tablespoon extra virgin olive oil if you like. Or you can use all olive oil omitting the tahini all together and still have a great hummus. Keep in mind the olive oil will slightly color the hummus, but not in a bad way.

Enjoy !

This hummus pairs perfectly with this Spicy Carrot & Hummus Sandwich


Roasted Cauliflower + Chickpeas + Mustard Dressing

Roasted Cauliflower + Chickpeas + Mustard Dressing

Can I interest you in some roasted cauliflower? Or maybe some roasted chickpeas? These are both just about the greatest thing ever...at least in my book they are! Pair them with this mustard dressing and you've got yourself another simple dish that is sure to please. I love all the ingredients in this recipe but have to admit that once I put the mustard dressing together, I wasn't so sure if it might have too strong of a mustard flavor. I was pleasantly surprised to find that once the dressing was mixed with the roasted chickpeas and cauliflower it mellowed out immensely. This has ended up being a new favorite dish of mine for ease of preparation and great flavor. It is also a complete meal with the addition of quinoa that adds extra protein and fiber so you can be sure you are getting what you need from your plant based diet. Try adding in some brussels sprouts as well for a nice variation. 
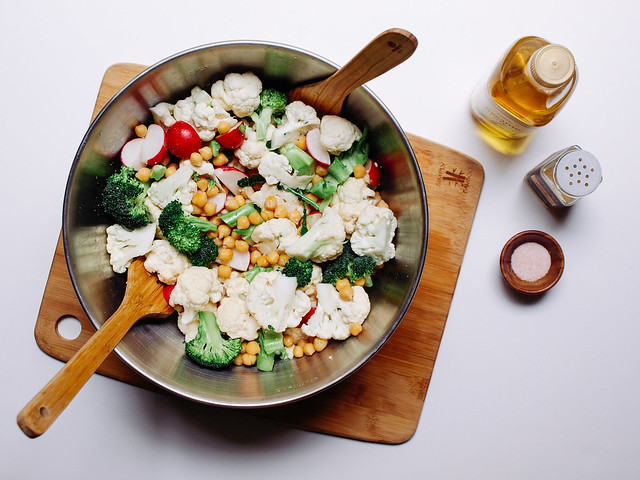
The recipe was first spotted within the beautiful blog photos from Bluebird and originates from Gwyneth Paltrow's and Julia Turshen's cook book, It's All Good. A quick google search gave me the ingredients and more inspiration to put this together. 

Roasted Cauliflower + Chickpeas + Mustard Dressing Ingredients

Gather your ingredients and begin...

Roasted Cauliflower + Chickpeas + Mustard Dressing

Start by preparing your chickpeas and cauliflower for roasting...roast for 45 minutes.

Roasted Cauliflower + Chickpeas + Mustard Dressing QuinoaRoasted Cauliflower + Chickpeas + Mustard Dressing Dressing

In the meantime, prepare your dressing and cook your quinoa. Just a note about the dressing, I chose to use lemon instead of white wine vinegar like the original recipe called for. I also sought out a Dijon mustard that didn't use white wine vinegar. My reasoning is that white wine may or may not be a vegan product as many use animal remnants in the production. After searching on the shelves I found this great Dijon mustard from Maille that doesn't use any white wine vinegar in the ingredients, just vinegar. And as luck would have it, it is an award winning Dijon mustard! Win, win. And the lemon in the dressing to me was just perfect!

Roasted Cauliflower + Chickpeas + Mustard Dressing

Once chickpeas and cauliflower are ready...toss with the mustard dressing and serve over a bed of quinoa. Simply wonderful!

Roasted Cauliflower + Chickpeas + Mustard Dressing

Roasted Cauliflower + Chickpeas + Mustard Dressing

Ingredients
  • 1 can (14 oz) garbanzo beans (chickpeas), rinsed, drained and patted dry on a kitchen towel
  • 1 large head cauliflower, cut into florets
  • olive oil
  • mineral salt
  • 1 cup quinoa (I used tri-color)
  • 1 1/2 cups water or vegetable broth
  • 1/4 cup fresh Italian parsley, chopped
  • fresh cracked pepper, to serve
  • lemon wedges, to serve

Mustard Dressing
  • 1 tablespoon Dijon mustard
  • 1 tablespoon whole grain mustard
  • juice from 1 lemon or 1 tablespoon apple cider vinegar 
  • 1 - 2 tablespoons evo or olive oil

Preheat oven to 400 degrees.

Prepare cauliflower and chickpeas, toss together in a large roasting pan with 2 tablespoons of olive oil and dash or two of salt. Roast for 45 minutes, stirring every 15 minutes or so.

In a medium pot, add quinoa, water and a pinch of salt. Bring to a boil, cover, reduce heat and simmer for 15 minutes. Remove cover and let set 10 minutes and fluff with a fork.

In a small bowl, prepare your mustard dressing and set aside. You may like to double this recipe and have some to drizzle over top your plated serving.

Once roasting is done, let cool a few minutes. While still warm, place cauliflower and chickpeas in a medium size bowl, add dressing and toss. Add in parsley last or top your portion when before serving. Tastes great warm or at room temperature.

Serve cauliflower and chickpea mix over a nice bed of quinoa along with lemon wedges.

Serves two with left over quinoa.


Enjoy often and eat more chickpeas!


MEDITERRANEAN KALE SALAD

MEDITERRANEAN KALE SALAD

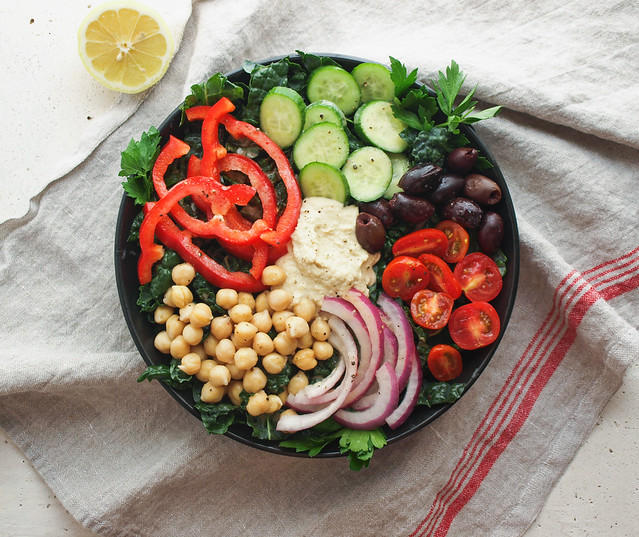
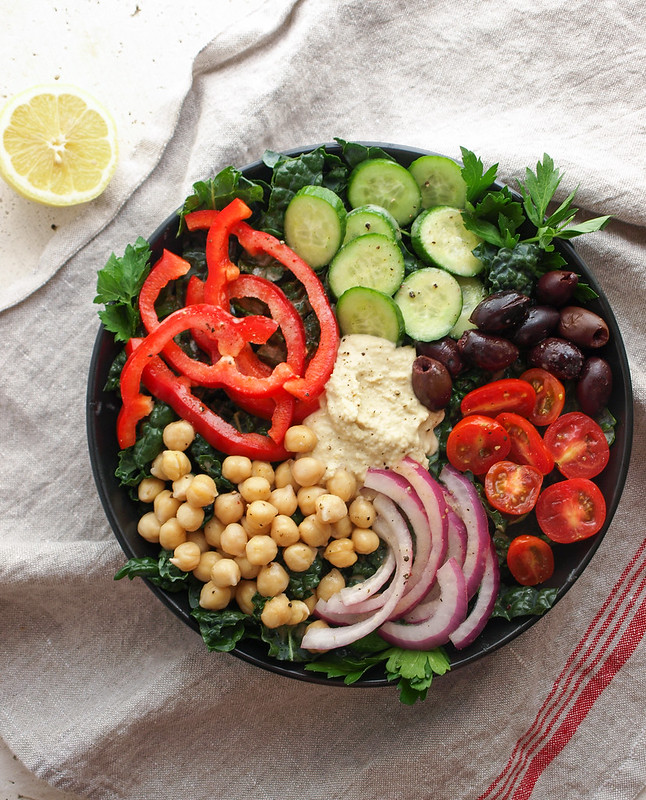
Summer in California is setting in, the temperatures are rising and salads are always welcome. I've been on an olive loving kick lately, as well as a chickpea kick (I'll tell you why soon), so this salad hit the spot with some salty olives, fresh sweet grape tomatoes & red bell peppers, refreshing cucumbers, red onion and fresh cooked chickpeas. All dressed up with a light vinaigrette and nice dollop of hummus. This salad didn't start with a dollop of hummus, but half way through eating I added a scoop and decided it needed to be included in the recipe (and photo), although I list it as optional. It adds such nice creaminess and rounds it out the salad well. If you find raw kale too hard to eat, even after letting it relax in lemon juice, a dollop of hummus will definitely do a world of good for you. It adds a nice creaminess to the overall salad while masking some of kale's bitterness. Similar to the Every Day Nourish Bowl, we now have another option of whole hearted goodness to choose from when a craving for salads occur! It's simple, accessible, not too expensive and good for you. Cheers to all of those things! :)

I have some fun news to share! I'm going to be immersed in all things chickpeas the next few months. I figured this post is a great place to introduce a project I've been working so hard on called, CHICKPEA: THE CHICKPEA HANDBOOK/COOKBOOK. It's all you need to know about chickpeas, with chapters containing information on nutrition, history, types, sprouting, growing (gardening), storing & selecting, flour, cooking and a few other relevant chapters. Plus, it will include upwards of 100+ recipes (not sure where to stop since there's so many good ones I want to add), including pictures of each one. It will include all of the favorite chickpea recipes from the blog and a ton of new ones. I'm excited out of my mind for this project! I was asked a few months ago what was the one ingredient that was important in my kitchen and my answer was chickpeas. They are so versatile and I use them often, especially for my hummus which is so much more than just a dip. After toying around with a couple cookbook ideas, doing a chickpea cookbook seemed so right. I want to celebrate the chickpea in all its glory and showcase its versatility, all the way from breakfast to desserts. It's a perfect fit for me and I know it will be a useful addition to any kitchen library! It's meant to be used often and will have my signature simplicity with a few recipes to kick it up a notch. I'm shooting for the end of the year but am really in no hurry as I want this book to be amazing. I ♥ chickpeas and think we should all eat more of them!

Enjoy the salad, and of course, this will be in the book! :)

MEDITERRANEAN  KALE SALADkale MEDITERRANEAN KALE SALADMEDITERRANEAN KALE SALADMEDITERRANEAN KALE SALAD

MEDITERRANEAN  KALE SALAD

Ingredients 
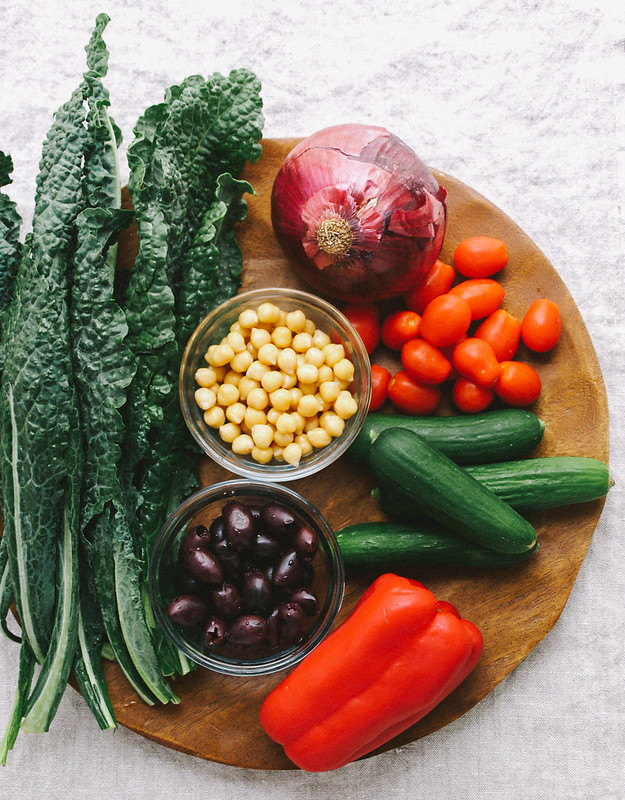
  • 3/4 bunch kale, stems removed and julienned
  • 1 large lemon, juice of
  • 1/2 small red bell pepper, sliced
  • 1/8 small red onion, sliced
  • 1/4 cucumber, sliced
  • small handful cup cherry tomatoes, sliced in half or campari tomatoes, quartered
  • small handful cup kalamata olives, pitted
  • 1/2 cup cooked chickpeas (garbanzo beans)
  • dollop of hummus, optional (but so good!), to serve
  • fresh chopped parsley, to serve
Vinaigrette
  • 2 tablespoons red wine vinegar
  • juice of one lemon
  • 1 heaping teaspoon dijon mustard
  • 1/4 teaspoon dried oregano, optional
  • 1 tablespoon extra virgin olive oil
  • salt & pepper, to taste

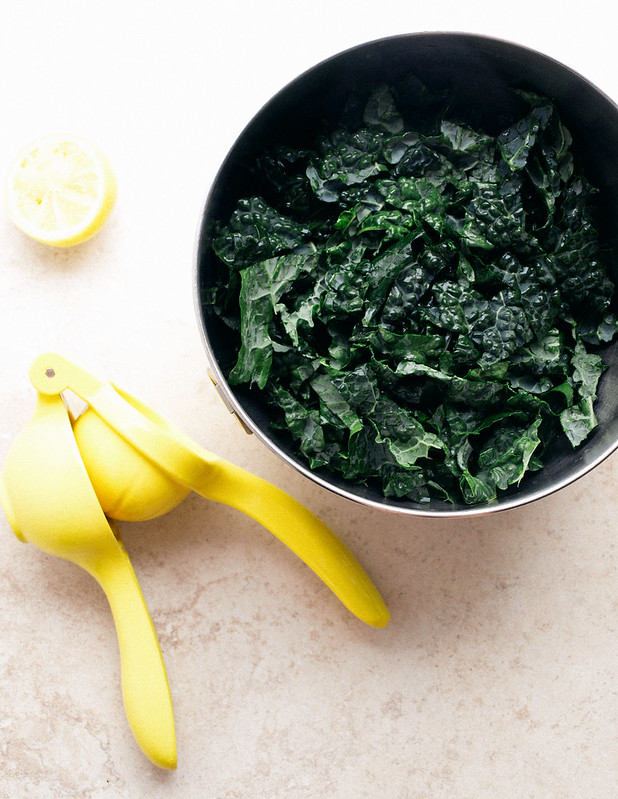
Remove the stems from the center of the kale leaves, as least the thickest parts. Julienne kale leaves and place in a medium size bowl, add lemon juice, mix to coat the leaves and let set while you prepare the rest of the ingredients. The lemon juice will help soften the kale leaves. Toss every few minutes or so.

In a small bowl, add the ingredients for the vinaigrette. Whisk together until emulsified. It usually takes me about one minute, set aside.

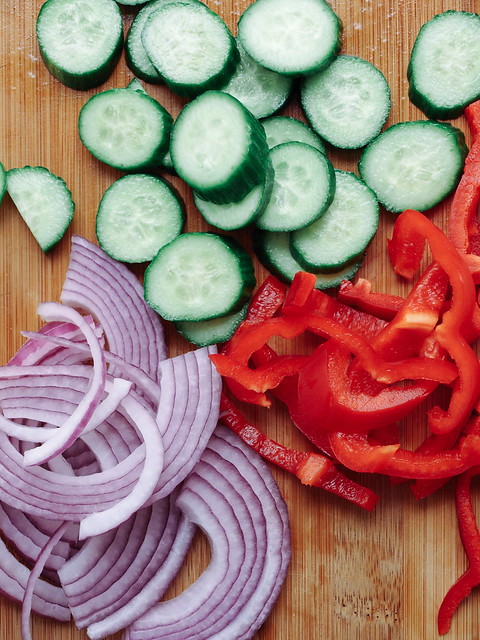
Once you've prepped your other ingredients you're ready to assemble your salad. In a serving dish, add kale and top with bell pepper, onion, cucumber, tomatoes, olives and chickpeas. Add your vinaigrette over top and a dollop of hummus anywhere you like.

Serves one generously.

Notes:

Depending on the size of your produce, amounts will vary. Adjust accordingly to suit your taste and situation. For instance, I used small Persian cucumbers here but used a whole small one. Typically, you'll be using a regular or English cucumber and will only use about 1/4 of it, as per the recipe.


Enjoy!


LENTIL & SUN-DRIED TOMATO HUMMUS WRAP

LENTIL & SUN-DRIED TOMATO HUMMUS WRAP

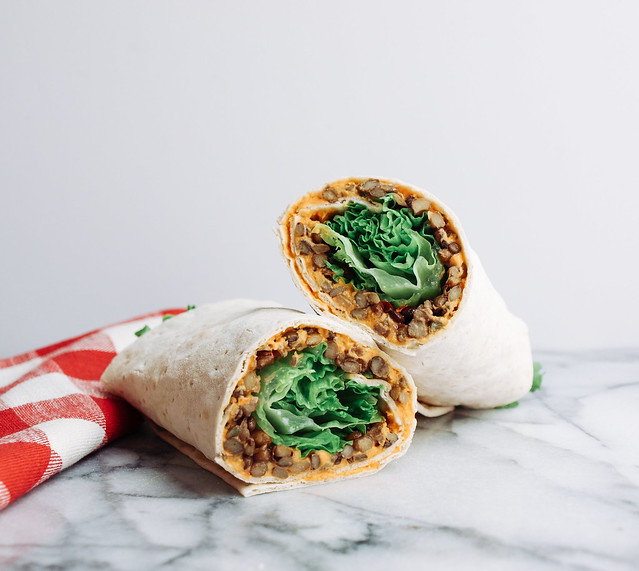
I'm all about quick and easy when it comes to eating. Sometimes I don't mind more intensive recipes in the kitchen but for the most part, I like to keep it simple. Today's recipe is just that. About as simple as it gets while satisfying my hunger and leaving my taste buds happy. I simply used pre-cooked steamed lentils like the ones Trader Joe's carries (Melissa's also carries steamed lentils if you can find them in your grocery store). They have tons of flavor and don't need much of anything. I'll even top them on a big bed of leafy greens, drizzle on something spicy and be happy as can be. Done and done! Here the lentils worked well with this sun-dried tomato hummus. I imagine plain, garlic or red pepper hummus would be delicious! Hummus is a great spread that lends creaminess to the wrap. You won't miss that there isn't any cheese.  Adding some leafy greens to the wrap gives some freshness, and of course a little spice from the red pepper flakes completes my wrap. I'm a sucker for red pepper flakes and most things spicy. Plenty of protein and flavor in this wrap. I hope it inspires you to gather your ingredients and roll up your own. They also make for great brown bag lunches!

If you're interested in a few quick sweet treat ideas, I just updated my Raw Hemp Bites and Raw Ginger Snaps. They are both no bake, no added sugars and amazingly delicious!

LENTIL & SUN-DRIED TOMATO HUMMUS WRAPLENTIL & SUN-DRIED TOMATO HUMMUS WRAP

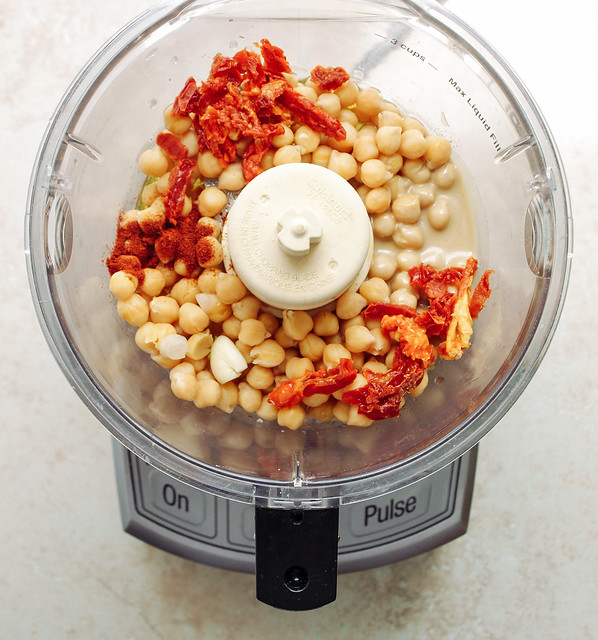
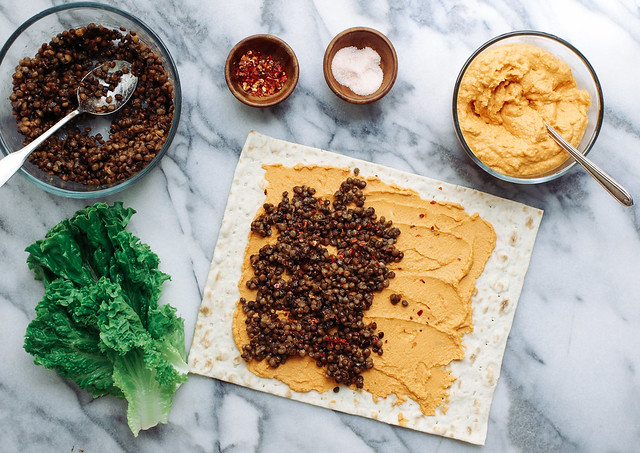
Start by making your hummus...

LENTIL & SUN-DRIED TOMATO HUMMUS WRAPLENTIL & SUN-DRIED TOMATO HUMMUS WRAP

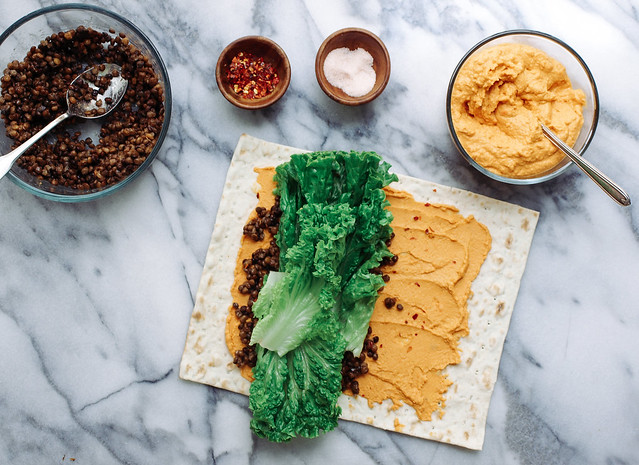
Layer everything as you see here and roll, gently but tightly, starting from the fullest side (in this case I rolled from left to right).

LENTIL & SUN-DRIED TOMATO HUMMUS WRAP

LENTIL & SUN-DRIED TOMATO HUMMUS WRAP


Ingredients
  • lavash bread (whole grain pref.) or flour tortillas
  • 1/2 cup cooked lentils, per wrap
  • leafy greens (I used romaine)
  • red pepper flakes
  • mineral salt

Sun-Dried Tomato Hummus
  • 1 1/2 cups fresh cooked garbanzo beans (chickpeas) or 1 can (15oz) garbanzo beans
  • 2 - 3 tablespoons sun-dried tomatoes, chopped
  • 2 tablespoons tahini
  • 2 tablespoon extra virgin olive oil
  • 1 clove garlic
  • 1/2 teaspoon paprika (I used smoked)
  • 1/2  teaspoon mineral salt, or to taste
  • juice of 1 lemon or 1 - 2 tablespoons lemon juice
  • 1/4 - 1/3 cup water, as needed

For the hummus:

If using packaged sun-dried tomatoes, soak your tomatoes in water for about 15 minutes to soften, reserve water. Use the remaining water as needed when adding it to the hummus. If using bottled in oil sun-dried tomatoes, use as is.

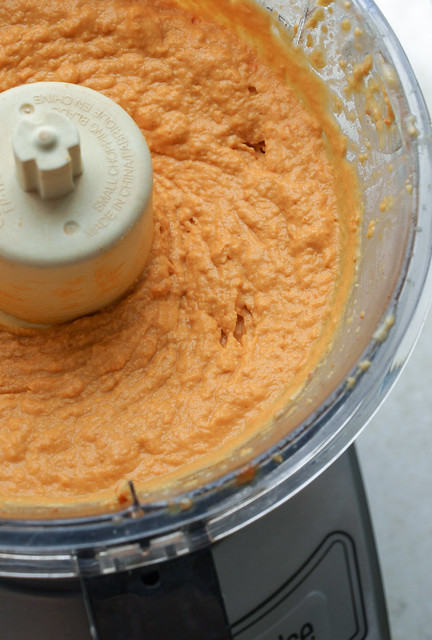
Place all ingredients into food processor/blender, except for the water. Blend until creamy, about 3 minutes or so, adding water as needed to thin. I used about 1/3 cup water as I like my hummus on the moist, thin side.

Assemble your wrap:

Lay your lavash bread on a flat surface. Spread a nice layer of hummus over 3/4, top with about 1/2 cup lentils over top, sprinkle with red pepper flakes and mineral salt, add leafy greens over top, roll gently but tightly as you can. Slice in half and enjoy!

Notes: 

Feel free to play around with the tahini and olive oil adjusting to suit your taste. You may like more tahini, or you may not have any on hand and can use olive oil in its place.

If you're looking to make this virtually fat free, use water in place of the tahini and olive oil.

Store hummus tightly covered in the refrigerator for up to six days. Makes about 1 1/2 cups.

Try this hummus with warmed corn tortillas or fresh sliced cucumbers, zucchini, carrots, bell peppers, etc. Thin a little more and use as a crema for tacos, enchiladas, and burritos. You can even use it in your salads! Hummus is so versatile and my new nut based cream replacements whenever possible!


Raw Sprouted Hummus

Raw Sprouted Hummus

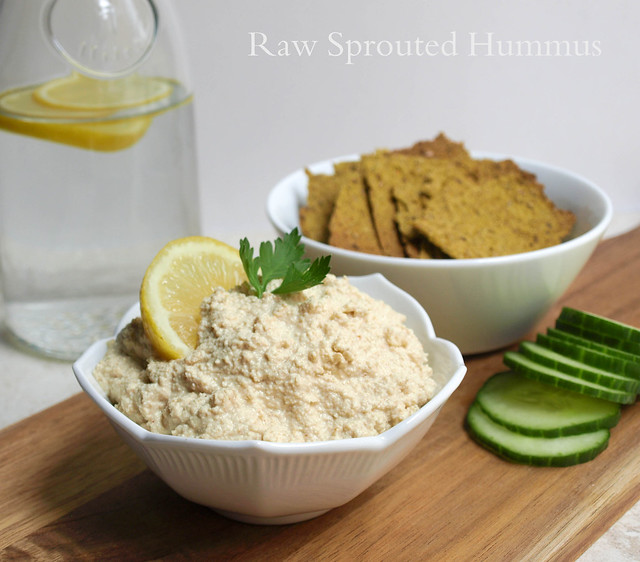
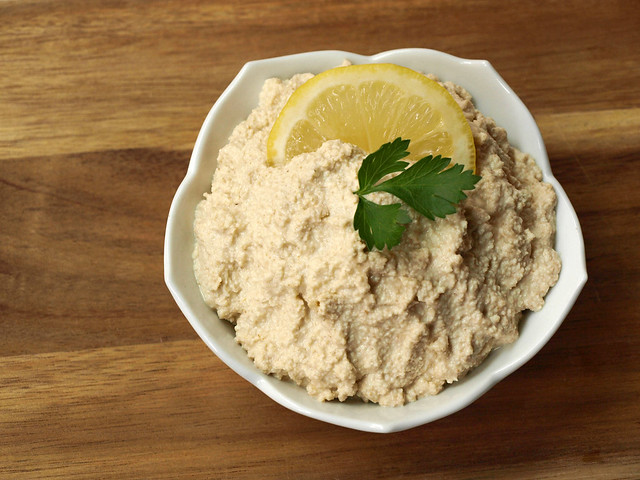
Yes, another chickpea recipe. I've wanted to do a raw hummus for awhile and thought it was time. Raw chickpeas have a much different flavor than the cooked ones I'm used too and at first I wasn't sure if I would like this. But you know what? It came out really well. Will I make this again...absolutely! They have a nice flavor alone but in a hummus they are spectacular! I've also been playing around with my juice pulp making crackers and this raw hummus was a perfect complement to my new obsession! I made this hummus about the same as I would regular hummus, except I added extra of everything to really get a good and flavorful raw sprouted chickpea hummus. 

Raw Sprouted Hummus

We know cooked chickpeas are good for us but they are even better after sprouting. Sprouting unleashes their full potential. Water is the key to unlocking their rich source of nutrition. Germination is a life force and we can benefit by adding sprouted nuts and seeds into our daily lives. Once sprouted the protein content will increase by as much as 20%, nucliec acids by 30% and many vitamins by as much as 500% ...yes 500%. Pretty amazing! 

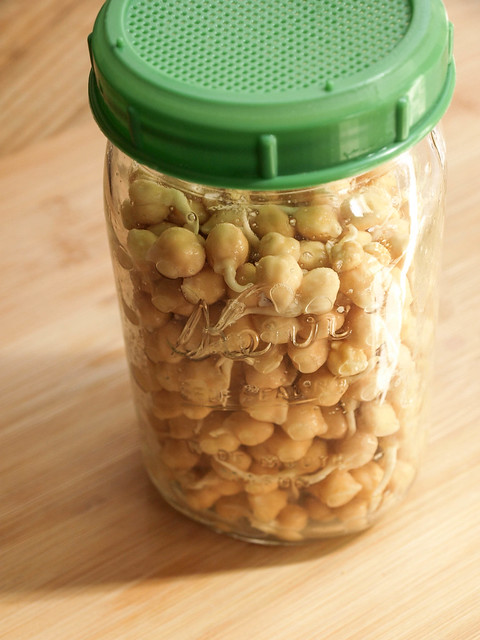
Best of all, it's really easy to sprout...it just takes a couple days of patience but it's worth watching your little seeds come to life and do their magic. You don't really need any special tools to sprout your chickpeas. I used a mason jar with a sprouting lid but any bowl or jar will do. Cheesecloth rubber banded around the top of a jar will work too if you don't have a sprouting lid. I've also sprouted without any lids and did just fine using my hand & fingers as a strainer. You could just as well use a simple colander after the initial soaking process; this will ensure maximum air flow and allow you to really rinse them well. The main points to sprouting is the initial overnight soaking, then rinsing thoroughly 2 - 3 times a day with purified water for two days. 

Raw Sprouted Hummus

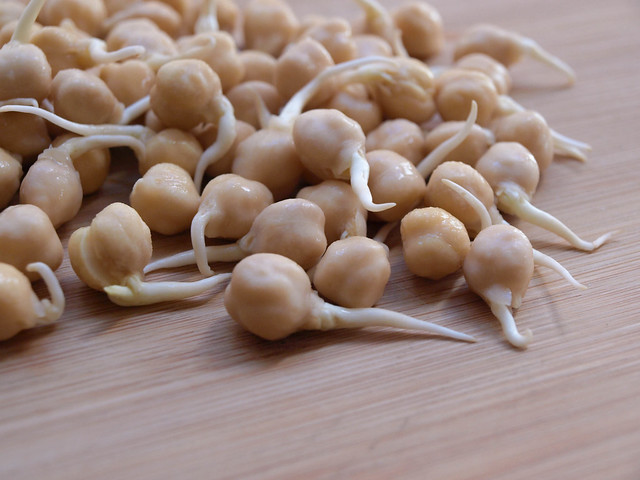
Once sprouted the beans will be at their highest potential and will give you excellent nutrition along with a wonderful hummus once everything is put together. The above picture is two days after the initial soak. Most of my beans sprouted very well, some only had little sprouts and some had none. You can expect various stages of sprouting and that is perfectly fine.

Raw Sprouted Hummus

Raw Sprouted Hummus

Ingredients
  • 1 cup dried garbanzo beans or 2 cups sprouted chickpeas 
  • 2 heaping tablespoons tahini
  • 2 heaping tablespoons extra virgin olive oil
  • 2 large cloves garlic
  • juice of 2 medium lemons
  • 1/4 cup purified water, + more as needed to thin
  • 1 tablespoon cumin
  • 2 teaspoons coriander
  • dash or two cayenne pepper, optional
  • himalayan salt to taste

If starting with dried beans, place your beans in a large bowl and fill with purified water. The beans will double in size so be sure to cover and leave plenty of extra water for them to soak up, about 2 to 3 times as much water. Soak for 8 -12 hours. Rinse and drain thoroughly. Leave your beans anywhere at room temp and rinse and drain once every 8 - 12 hours for two days. Here is a great guide to sprouting garbanzo beans from the Sprout People for reference.

Place all your ingredients into your food processor/blender and blend until creamy. Taste for flavor adding anything extra you like. If adding more water, add 1 tablespoon at a time until desired consistency.

Enjoy however you like!


Roasted Buddha Bowl + Creamy Lemon Hippie Sauce

Roasted Buddha Bowl

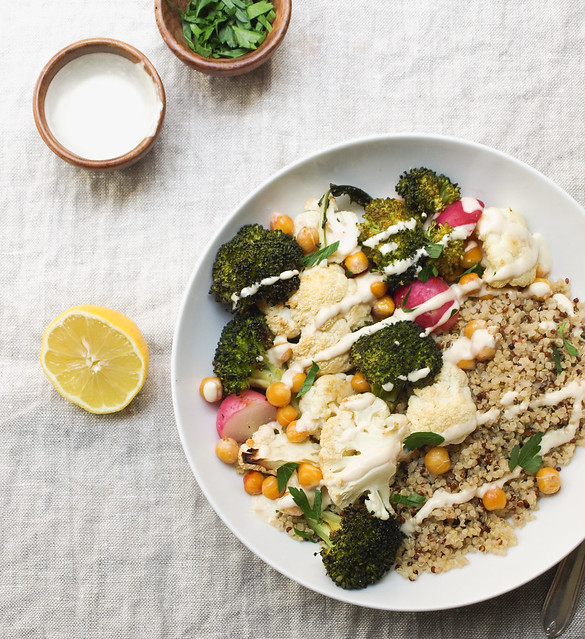
What I have to share with you today is my take on the Roasted Buddha Bowl from Oh She Glow's. It is my kind of meal...simple, flavorful and easy! I added some radishes to my mix. Once roasted, they become sweet and tender. If you've never grilled or roasted radishes, I highly recommend adding that to your list of must tries. I also made my own sauce for this recipe. I've been having lots of cashew based sauces lately and decided to mix it up with a lemon white bean sauce. It came out wonderful and pairs really well with the quinoa and vegetables. I would consider it more of a hummus that has been thinned out a bit. I think you'll love it. So we have another nutrient dense meal that tastes great, is filling and easy to make. Be sure to pick up some radishes and give this bowl a try...you may find that you will make it again and again. I have. :)

Roasted Buddha Bowl

Before we begin, let's go over a little bit about what a Buddha bowl is. Personally, this is my first experience with it, although I have made it many times before, I just didn't know it. Buddha bowls can be whatever you want them to be...they typically include a grain, protein, sauce and vegetables. But you can add anything your kitchen holds and/or your heart desires. Usually you will find the vegetables to be sautéed or steamed. I really love roasted vegetables so this Buddha bowl is perfect for me. I think sweet potatoes would be great in this too. You can keep your Buddha bowl simple or go all out adding all kinds of colorful ingredients. Chances are you've already had many Buddha bowls too! 

Now let's be full of gratitude for all that is and dine in peace...

P5075367-2Roasted Buddha BowlRoasted Buddha Bowl

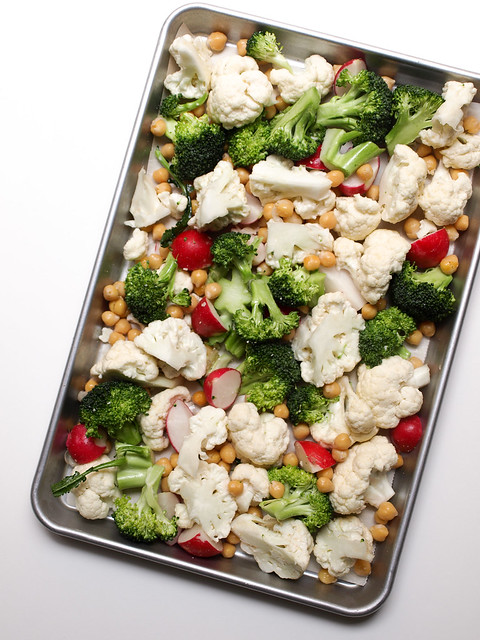
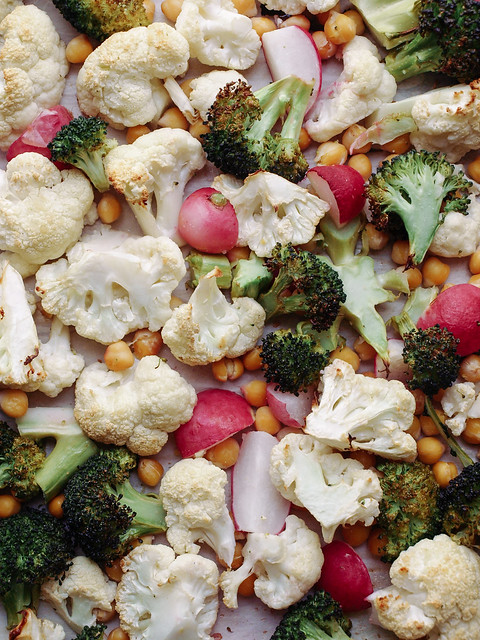
Prepare your vegetables and roast.

Roasted Buddha BowlRoasted Buddha Bowl

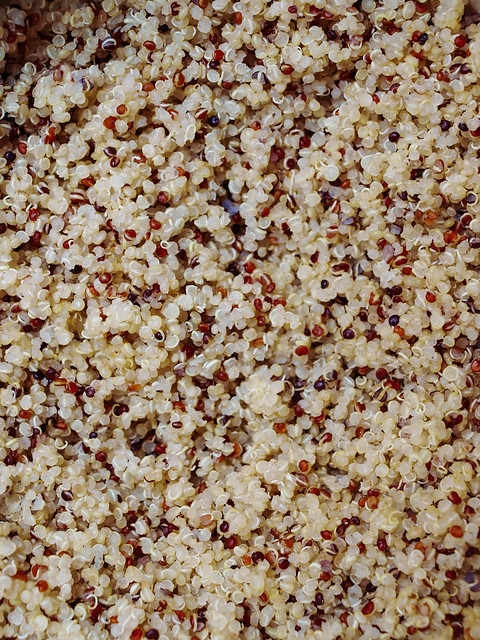
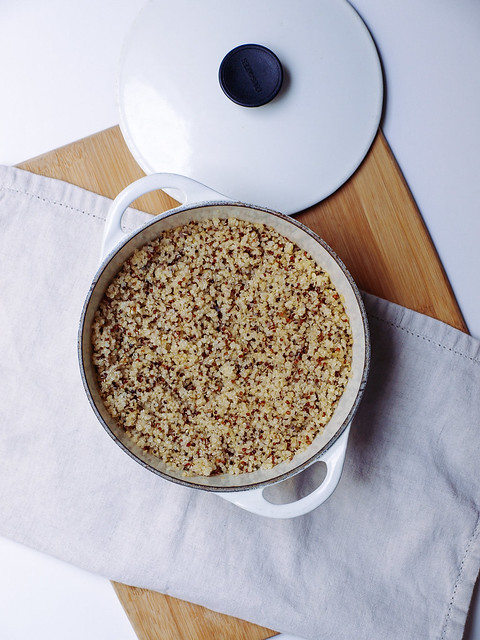
Quinoa, my favorite grain of all time...to date that is! It's full of protein, fiber and is just an amazing grain with its versatility. My favorite is mixing white and tri-color quinoa together. It breaks up the solidness of the white quinoa and the too clutseriness of the tri-color, and it always photographs the best for me adding just the right texture. It's perfect for this Buddha bowl and can cook while the vegetables are roasting.

Roasted Buddha Bowl

Roasted Buddha Bowl

Ingredients (serves 3 generously)
  • 1 broccoli head, cut into florets
  • 1 cauliflower head, cut into florets
  • large handful radishes, halved (or quartered depending on the size)
  • 1 1/2 cups cooked chickpeas (garbanzo beans) or 1 can (15 oz.), drained and rinsed
  • 1 - 2 tablespoons olive oil or sesame oil
  • generous sprinkle of garlic powder
  • pinch or two of salt
  • 1 cup quinoa, (rinse if you pref) 
  • 1 1/2 cups water
  • chopped parsley, to garnish

Creamy Lemon Hippie Sauce
  • 1 can (15 oz) cannellini beans or chickpeas (garbanzo beans), drained and rinsed or 1 1/2 cups fresh cooked
  • 2 tablespoons tahini
  • 2 tablespoons extra virgin olive oil
  • 2 tablespoons nutritional yeast, optional
  • 1 large garlic clove
  • juice of 1 large lemon
  • mineral salt, to taste
  • 2 - 4 tablespoons water for thinning 

Preheat oven to 400 degrees.

In a large bowl, combine broccoli, cauliflower and radishes, drizzle with oil, garlic powder and salt, mix well to coat. Place mixture on rimmed cookie sheet or roasting pan. Cook for 35 -45 minutes, stirring once in between.

While vegetables are roasting, in a medium pot add quinoa and 1 1/2 cup water. Sprinkle in a dash or two of garlic powder and mineral salt. Bring to a boil, cover, reduce heat and simmer for 15 minutes. Remove from heat, uncover and let rest for 10 minutes. Fluff with fork.

Next, prepare your sauce by placing all the ingredients in food processor/blender, except the water, and blend until creamy smooth. Add water 1 tablespoon at a time until desired consistency. You may also like to add more lemon in place of water for a really zesty lemon sauce. Taste for flavor adding extra garlic or salt if needed.

Serve vegetables on top of quinoa, add a generous amount of sauce on top...don't be shy with the sauce, it's so good and healthy. Add some freshly chopped parsley and cracked pepper or lemon pepper if you like. A Buddha bowl fit for a king or queen!

Store left overs in an air tight container in the refrigerator for up to a week

Notes:

If you have sauce left over, you can use it a dip for veggies or pita chips, or as a spread for sandwiches.

You may also like to try this Sriracha Cashew Cream Sauce in place of the sauce suggested above for a spicy twist or this Tahini-Miso Dressing for another mellow sauce!


Enjoy!

Image of the sitting man with his Buddha bowl comes from the first published book by Anna Thomas called, The Vegetarian Epicure. You can find all four of her books here including her new book, Love Soup. I stumbled onto this graphic from this blog post at Gluten Free For Good: Buddha Bowls and Hippie Chicks.

A final note, food for thought from a genius...

'If someone thinks that peace and love are just a cliche that must have been left behind in the 60's, that's a problem. Peace and love are eternal.'

~ John Lennon


Raw Zucchini Wraps with Kale Pesto

Raw Zucchini Wraps with Kale Pesto

One delicious bite after another!

Raw Zucchini Wraps with Kale Pesto

These were such a hit when I shared my 'Follow My Kitchen' photo on Facebook that I wanted to put the recipe together for everyone to have. And it comes at a good time too, I think people right now are looking for some Superbowl snack idea's....this is a great snack for the line up. Not only are they super healthy but they're refreshing, filling, easy and fun to make! And so colorful too....just lovely. All these vibrant colors are good for you...full of antioxidents, nutrients, fiber and yes, even protein! Fresh and raw is a beautiful way to eat. At least half of our daily food consumption should be raw foods for optimal health, not always easy, but hopefully this will be a fun way to add some rawness to your life. Your mind, body and soul will thank you!

Raw Zucchini Wraps with Kale Pesto

Raw Zucchini Wraps with Kale Pesto

What you'll need
  • 1 - 3 zucchini, thinly sliced lengthwise
  • red bell pepper, cut into thin strips or julienned
  • yellow bell pepper, cut into thin strips or julienned
  • carrots, julienned (I used baby carrots, cut into quarters)
  • sprouts/micro greens of choice
  • cilantro, optional
  • fresh cracked pepper & mineral salt
  • tooth picks

Kale Pesto
  • 2 cups kale, packed or 1 cup basil & 1 cup kale, packed
  • 1 clove garlic
  • 2 tablespoons tahini, optional
  • 3 tablespoons or so extra virgin olive oil (if not using tahini add 1 or 2 extra tablespoons olive oil)
  • himalayan salt to taste

Amounts for the vegetables will vary on how many your making, use your best judgement on how much you will need. If you can't find sprouts or micro greens, try using cilantro or fresh basil leaves. 

For the kale pesto, place ingredients into food processor and process until desired consistency. Taste for seasoning. 

Lay your zucchini flat on a hard surface, layer with the pesto, make a sprouts and veggies mound on one end. Roll into a wrap and stick with a toothpick in the center. Top with mineral salt & cracked pepper. Serve and enjoy!

Notes: 

Look for the smaller zucchini, they will be the perfect size for these bite size rolls. The length and width is just right, especially if using a peeler to cut into thin strips. 

Use a mandolin to slice the zucchini. There are different types of mandolins from hand held to box types. Some have adjustments so you can decide how thick or thin you want your slices. If this is new to you do a google search and find the right one for you. I'm actually using a peeler, works great and is very easy to use! It has an attachment for use as an official mandolin but I haven't figured out how to attach the piece yet, but this works great without it too. This was gifted to me by my wonderful parents and you can find it online Primo Peeler. 

Enjoy!