.JPG "Creamy Lemon Herb Dressing")
.JPG "Creamy Lemon Herb Dressing")
.JPG "Creamy Lemon Herb Dressing")
My last post of 2012. What a great year this has been! Food blogging and taking pictures has been a fun and learning experience. I've improved much but still have a ways to go. Meeting like minded people and being inspired everyday has been amazing. I look forward to what adventures lie ahead. I leave you all with this really wonderful dressing. I know many will be eating healthier as a New Year's resolution and this dressing will help you get some freshness in your meal plans. I personally found myself tipping the bowl to get the last of it. It's light and refreshing on its own, adding it to a fresh salad just makes it that much better. I've been waiting to find a great creamy style dressing that's easy to make at home and finally I've found one that fits my needs. This is raw, nut free, soy free, gluten free and of course vegan. I think this will amaze you as much as it amazed me. Happy New Year's to you all....Cheers!
The base of this recipe is hemp hearts. If you're unfamiliar with hemp seed hearts, you will want to add these great little seeds to your lifestyle. They are easy to sprinkle in smoothies, on salads, add some to the top of your toast and jam. In this recipe they create a wonderful creaminess. Hemp seeds are a great source of omega 3 & 6 and are a high quality complete protein. Four tablespoons, or 1/4 cup, of hemp seeds contain 15 grams of protein, and they're also a good source of fiber containing 2.5 grams per quarter cup. They also contain high concentration of vitamins and minerals such as iron, vitamin E, thiamine, riboflavin, folic acid and many other micro-nutrients that your body needs. Another great thing about hemp seeds is that they do not need to be soaked to aid in digestion, they can be eaten raw and the body will absorb and digest all nutrients readily and easily. They contain a lot of nutrition in a small package. If you love hemp hearts, you may also like my other recipes containing hemp hearts. Raw Healthy, Happy, Hemp Seed Cookie Balls & Raw Creamy Miso Soup w/ Mushrooms...a few great ways to use hemp seeds!
Now, let's make some delicious dreamy creamy dressing...
.JPG "Creamy Lemon Herb Dressing")
Creamy Lemon Herb Dressing
- 1/2 cup hemp hearts
- 1/3 cup water, plus more as needed for thinning
- juice of 1 medium lemon
- a few strands chives, broken into 1 inch pieces
- a few sprig leaves fresh dill
- a few sprig tops fresh cilantro and/or parsley
- dash or two garlic powder
- dash or two onion powder
- himalayan salt to taste
Using a blender, I used the magic bullet for this, combine ingredients and blend until smooth. Add water 1 tablespoon at a time until desired consistency. Taste for flavor adding anything extra to suit your taste...more lemon?...more herbs?...more garlic or onion powder? Chill before serving. Makes about 5 servings.
Store in an air tight container in refrigerator for up to a week.
Note: I have not made this in a regular blender. The magic bullet works wonders but if you don't have one this should work fine your blender at home. You may consider doubling the recipe if using a larger blender. Mix and match herbs to suit your taste.
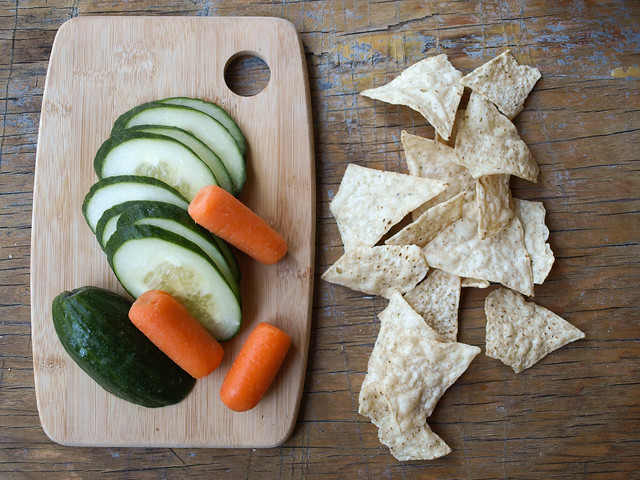
Salad shown consists of romaine lettuce, grape tomatoes, cucumbers and topped with cracked pepper...simple and delicious!
Enjoy!
How to Freeze Fresh Herbs:
Fresh is always best, but I do find that I buy fresh organic herbs and then they get thrown away. If you find that is the case for you, below is a few simple ways to freeze your herbs making them easily ready for this recipe and others.
Fresh dill sprigs can be frozen for up to a couple months, but they will darken in color. There is no need to thaw before using. Frozen dill weed will still always have more flavor than dried dill. Below are two methods for freezing dill.
Cilantro is best used fresh, freezing turns it mushy, so fresh is best for great flavor.
Parsley is another herb that freezes well. You can freeze parsley the same as dill by using one of the two methods provided below.
Chives also freeze well. Frozen chives have the same flavor as fresh chives. To freeze chives you can cut the strands into small pieces, lay on cookie sheet and place in freezer for about 20 minutes. Once frozen place in air tight container, should last up to year. You can also freeze by using the ice cube tray method below.
Whole Stalks:
Dill: Place a bunch of dill, stalks and all, in a reusable plastic bag or airtight container. Once the dill freezes, use clean kitchen shears to remove the needed portion, then return the remaining dill to the freezer. Entire stalks can be used to flavor soups and stews, then use a slotted spoon to remove the dill just before serving.
Parsley: Chop parsley into small pieces, place in reusable plastic bag or airtight container.
Ice Cubes:
An ice cube tray provides serving size cubes of herbs that can be tossed into soups, stews and other hot dishes. Dice the herbs, place a small amount in each section of an ice cube tray, add water and freeze. Once frozen, remove the cubes and store them in resealable plastic bag or freezer container. You can also add veggie broth instead of water, or combine herbs as well for a ready to use herbal blend.


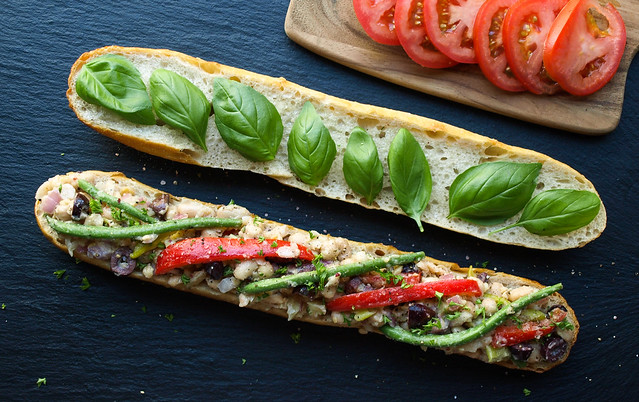
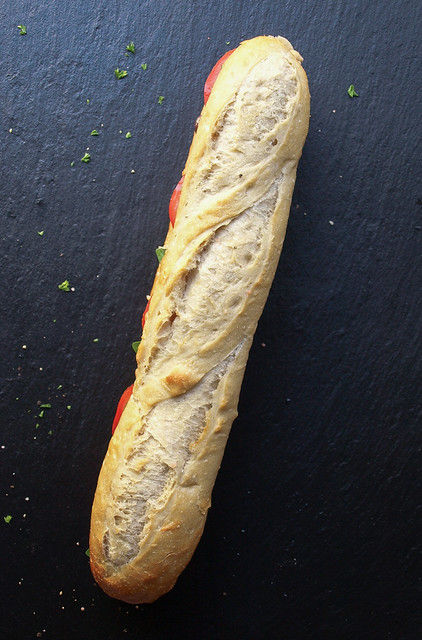
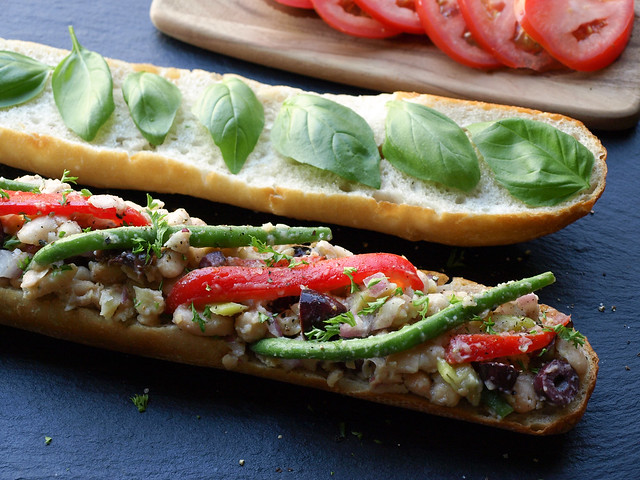
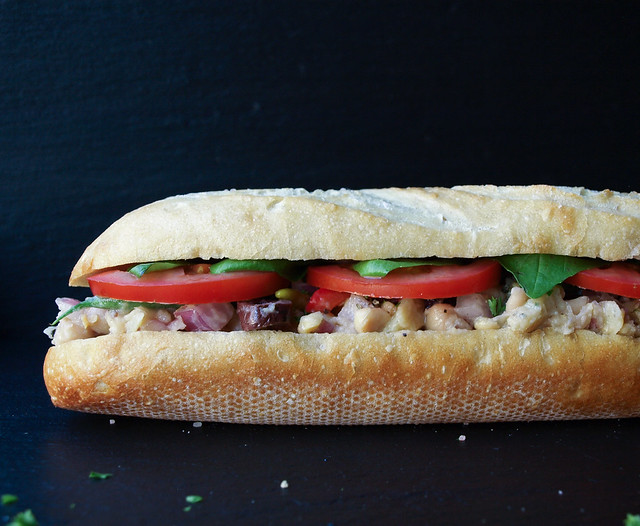
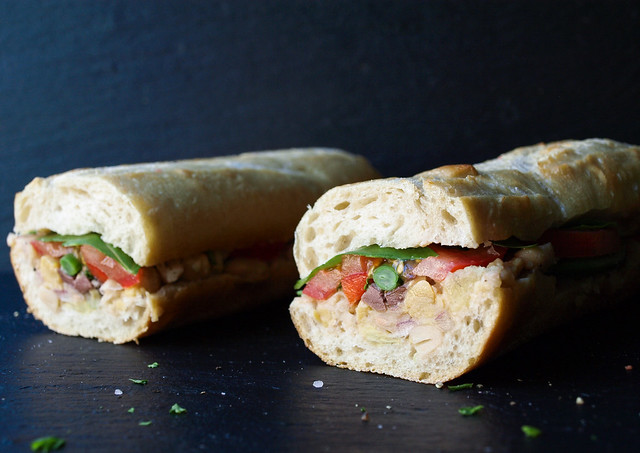

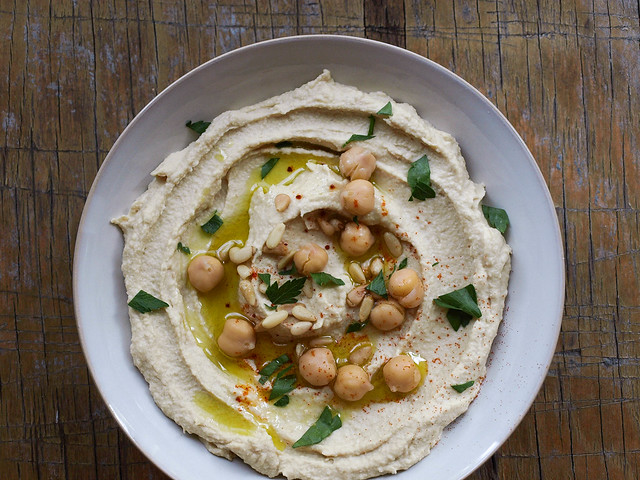
.jpg "Mashed Chickpea Salad")
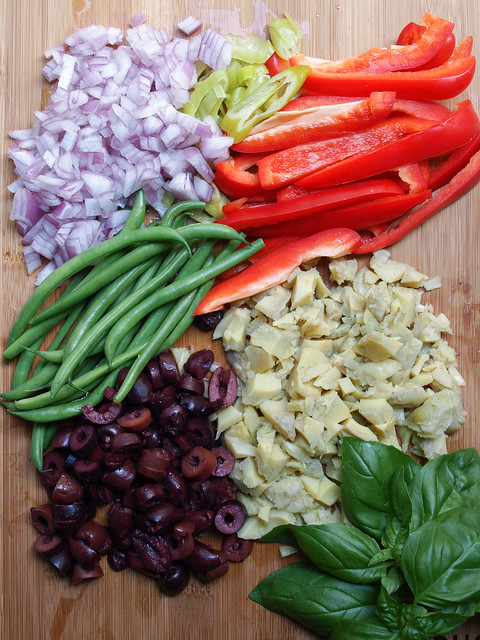
.jpg "Dice your vegetables...")
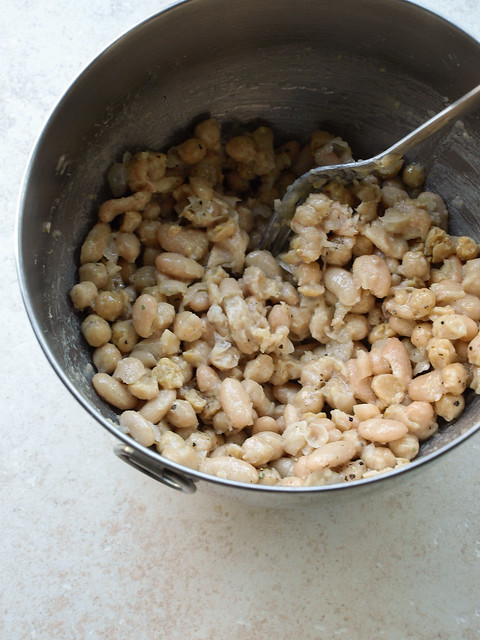
.jpg "Roughly mash your beans...")
.jpg "Combine ingredients...")
.jpg "Mix and serve...")