
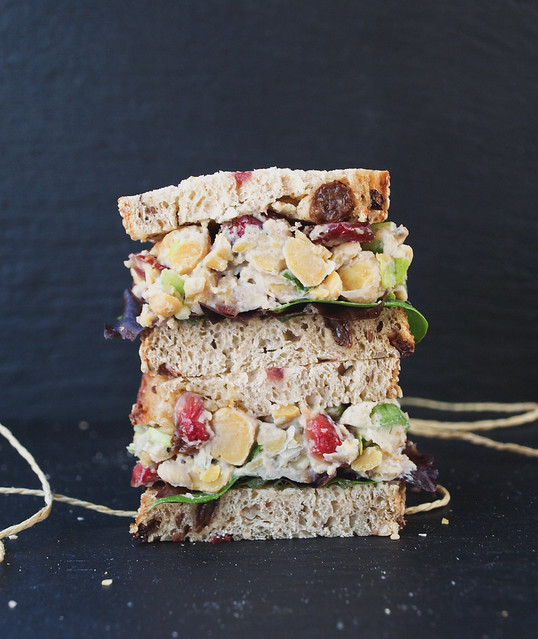
.jpg "Cranberry Walnut Chickpea Salad Sandwich")
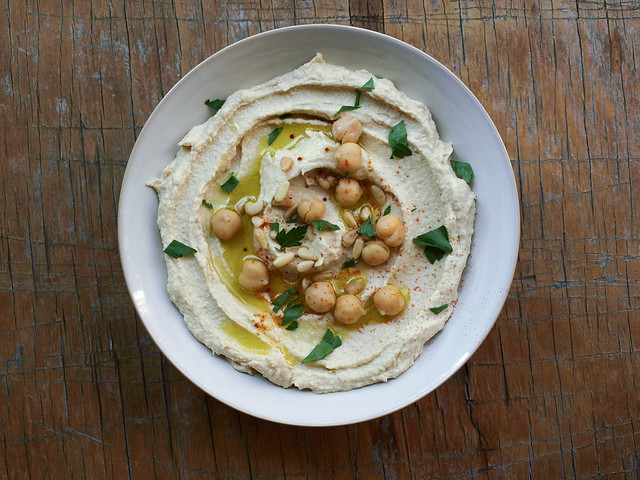
Chickpeas are just about the most versatile bean I've ever come across. They pair well with so many flavors making them the ultimate bean in my book. No wonder they are loved by so many! They may not have as much protein or fiber as black beans and cannellini beans, but chickpeas come in close enough with 15 grams of protein and 12 grams of fiber per 1 cup. They are a nutrient dense food with good carbohydrates the body needs and are low in fat with only 4 grams of fat per 1 cup. And the other beans are not nearly as versatile as the chickpea. You can make savory chickpea pancakes with the flour, add them to ratatouille, stews, salads, make hummus, falafels, roast them as a snack and the list goes on and on. They are the greatest bean ever and I can't wait to put them into new recipes here in the future. I have lots of ideas for these little guys!
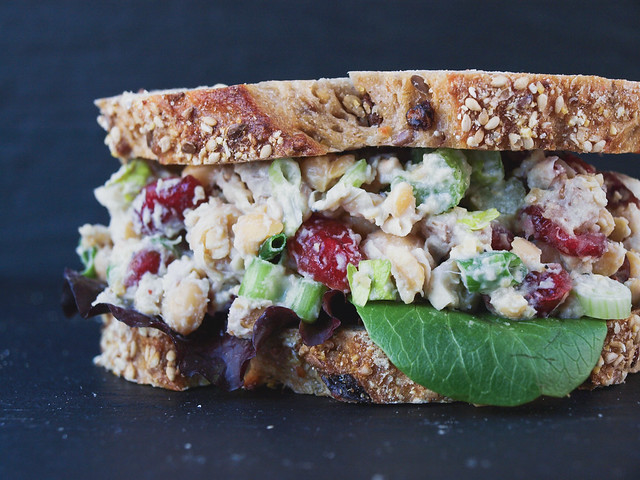
And we'll start by adding this super awesome Cranberry Walnut Chickpea Salad Sandwich to the collection. If you didn't already know, chickpeas make for great sandwich fillers too!
You may already be familiar with my 'Chickpea of the Sea' Salad and my other classic Mashed Chickpea Salad. This one is just as delicious but with a sweet flair that I just know you'll fall in love with! I assure you that this will hit the spot and satisfy your craving for a chunky, sweet, peppery, crunchy style sandwich. Full of texture and flavor this has become my new favorite. It's a hearty salad that will comfort you and leave you feeling completely satisfied. This can be served as a traditional or open faced sandwich. Or simply serve on a bed of lettuce and skip the bread. You may even find that you love the salad all by itself without any accompaniment! I can easily eat this straight from the bowl all day long. :)
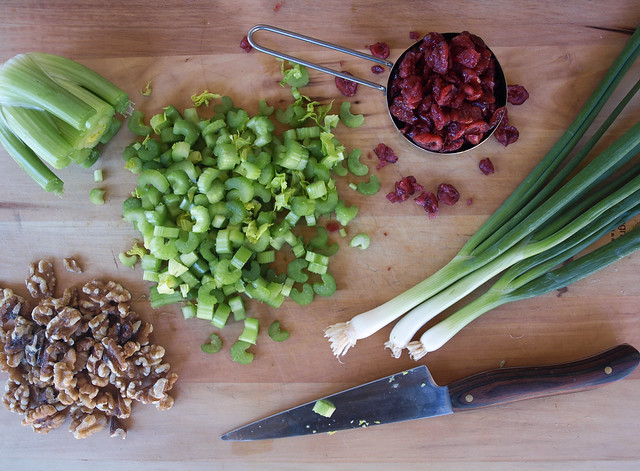
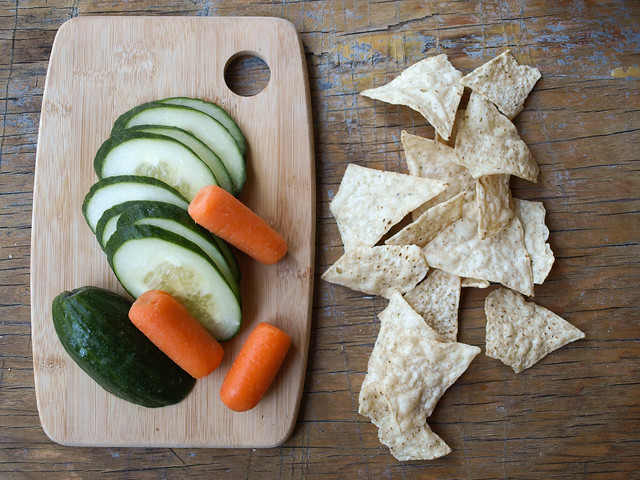
Slice your celery, feel free to add in some celery leaves if you can. For the scallions, when slicing use both the green and white parts. Roughly chop your walnuts. When buying cranberries, use organic whenever possible (I like the ones from Trader Joe's, they're so brightly colored too!). You can also use fresh chopped cranberries!
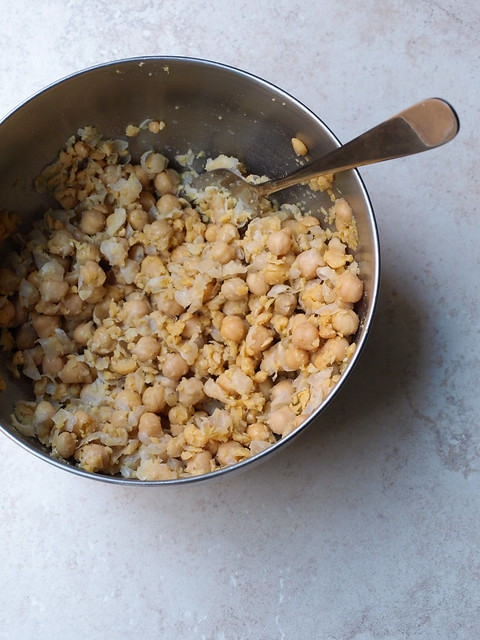
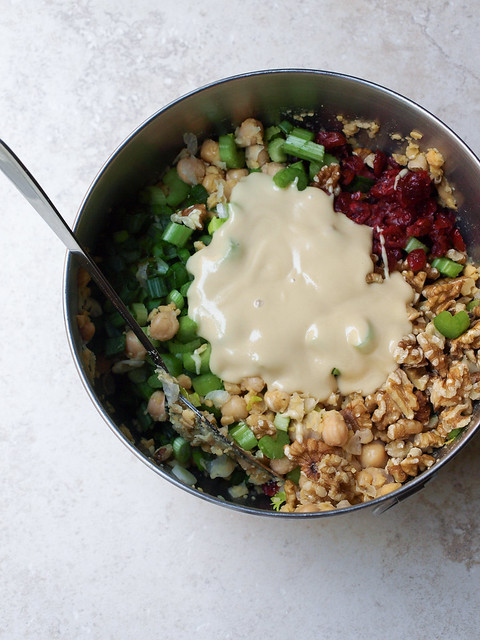
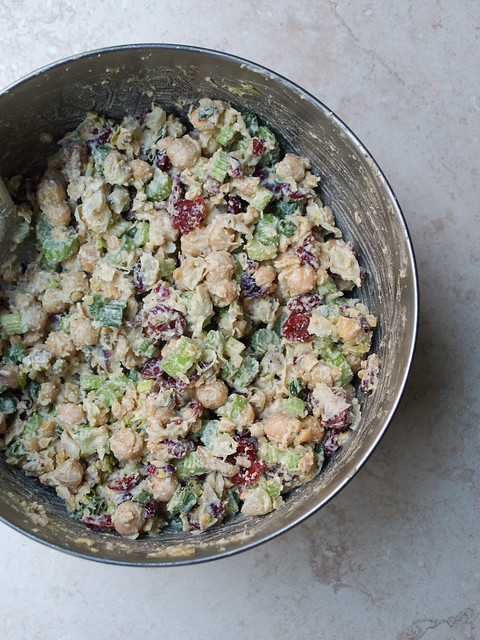
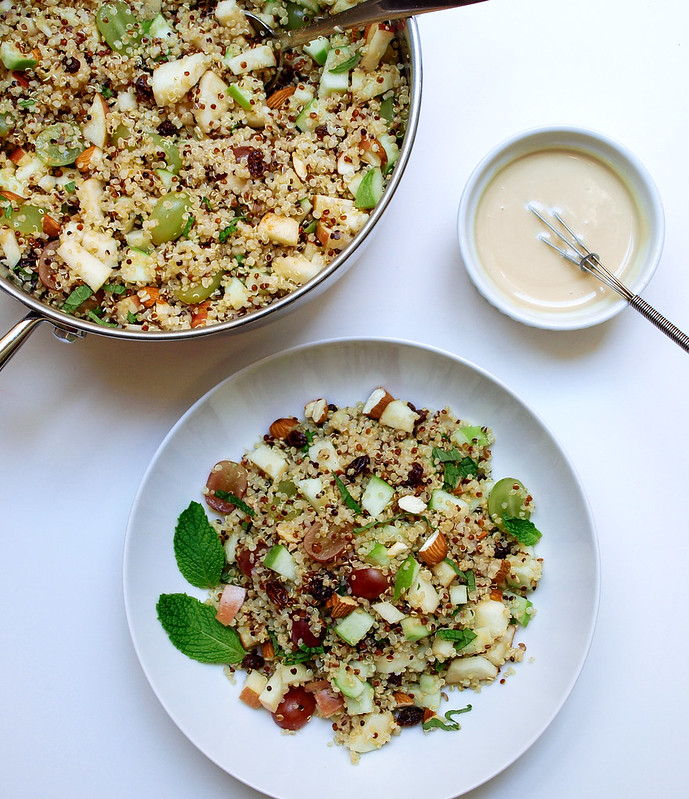
Roughly mash your chickpeas. I decided to double this batch using 3 cups of chickpeas instead of 1 1/2 so you'll have plenty of leftovers. And you'll be glad you have them! Add in the remaining ingredients and mix. About as simple as it gets, which is why I love chickpea salads!
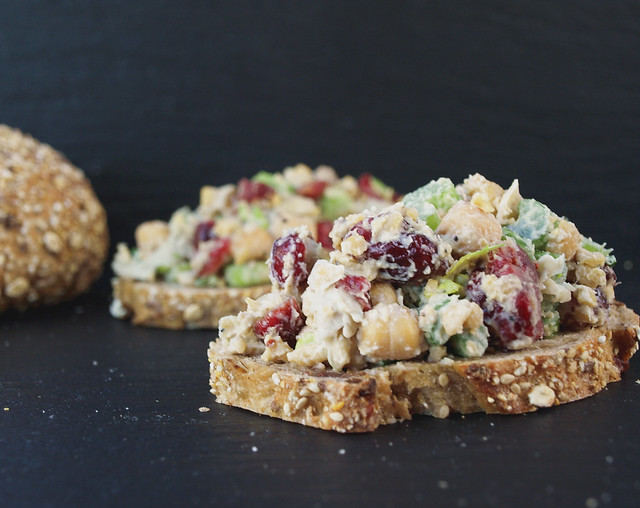
There you have it...serve on your favorite bread. I have it paired here with a fruit, nut and seed loaf.
Cranberry Walnut Chickpea Salad Sandwich
Ingredients
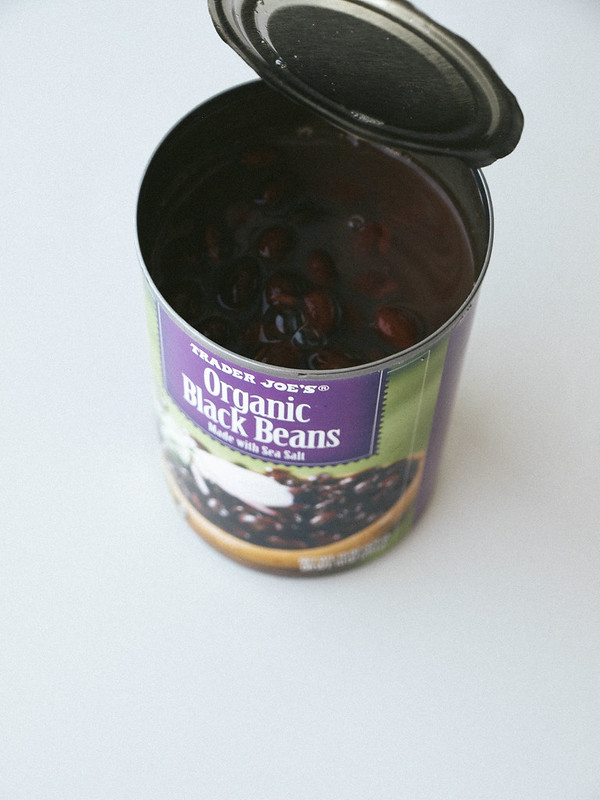
- 3 cups cooked or 2 cans (15oz) garbanzo beans (chickpeas), drained and rinsed
- 1 cup celery, diced
- 1/2 cup organic dried cranberries (chopped fresh would be great too)
- 1/2 cup walnuts or pecans, roughly chopped
- 1/2 cup scallions (green onions), thinly sliced, white & green parts
- mineral salt & freshly ground pepper, to taste (I used about 1/2 teaspoon each)
Dressing
- 6 tablespoons (1/3 cup) tahini or vegan mayo
- 4 tablespoons (1/4 cup) champagne, white wine or cider vinegar (I used Orange Muscat Champagne Vinegar)
- 2 tablespoons water (only needed if using tahini)
- 2 teaspoons pure maple syrup
To serve
- leafy lettuce of choice
- bread of choice
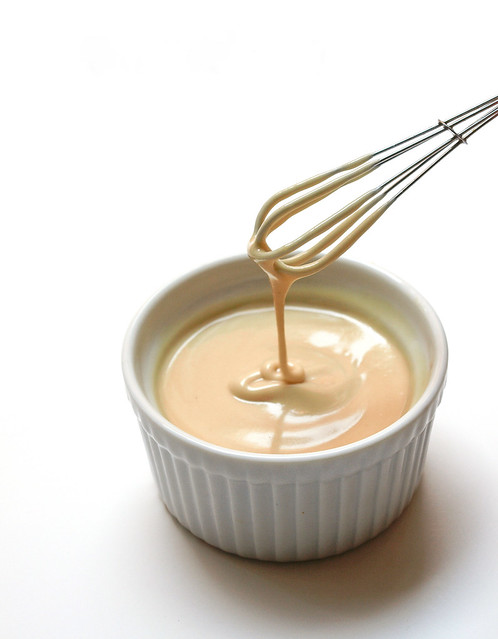
Start by mixing your dressing. In a small bowl combine tahini/mayo, vinegar, water and maple syrup. Set aside so the flavors come together. This can be made a day or two ahead and stored in the refrigerator until ready to use. Add a tad more water, or vinegar if you're a vinegar lover, to thin out dressing as desired. If using vegan mayo, you may like to add 2 more tablespoons.
In a medium to large bowl, add your garbanzo beans and roughly mash with a strong fork or potato masher. Add in celery, cranberries, nuts, scallions, salt, pepper and dressing, mix well. Serve at room temp or let chill in the refrigerator for an hour before serving.
Serve on your favorite bread as a closed or open faced sandwich, or on a bed of leafy greens. You may even opt to simply enjoy the salad as is.
Serves 6 - 8.
Notes:
Add extra of anything you like, and vice versa, if you're not keen on an ingredient use less or omit! One particular ingredient may be the vinegar. I'm not much of a vinegar fan but I loved the orange muscat champagne vinegar and found I used quite a bit and loved it!
Change up the walnuts, using pecans, almonds, sunflower seeds, etc. If using sunflower seeds, use half the amount called for.
For the dressing, I have only made this using tahini since I do not use any kind of store bought vegan mayos. If using vegan mayo, adjust accordingly adding more mayo as needed, maybe 1/2 cup instead of 1/3. I do recommend trying this recipe with tahini...it is seriously so good that you would never know and it is much better/cleaner for you than the store bought mayos!
Enjoy!
.jpg "Mashed Chickpea Salad")
.jpg "Dice your vegetables...")
.jpg "Roughly mash your beans...")
.jpg "Combine ingredients...")
.jpg "Mix and serve...")


.jpg)
.jpg)
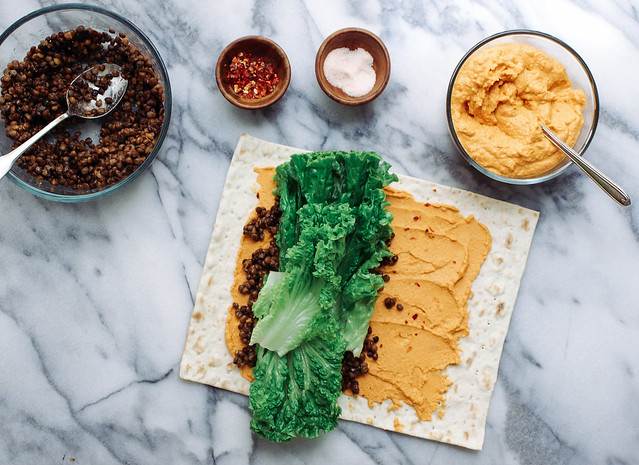
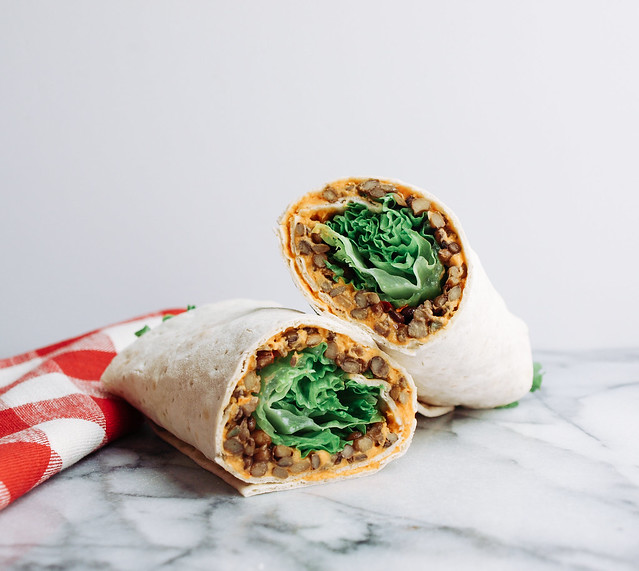
.JPG "Spicy Lentil & Quinoa Wraps with Tahini Sauce")
.jpg "Spicy Lentil & Quinoa Wraps with Spicy Tahini Sauce")
.JPG "Spicy Lentil & Quinoa Wraps with Tahini Sauce")
.JPG "Spicy Lentil & Quinoa Wraps with Tahini Sauce")